

 £ 17.99 GBP
 Scroll down below to find the instructions for each product listed.
Instructions of the FRIO wallets, Adhesive Patches, Device Stickers, Sharps Disposal and Screen Protectors.
For further information please see our FAQs Page.


When you unpack your FRIO, you'll find the Outer wallet, the Inner wallet and the instruction card to go with it. PREPARATION
Fill an empty tupperware pot, the size of your FRIO, with water. Then separate the two FRIO wallets from each other.
Submerge the INNER wallet into the water and gently manipulate to spread the crystals inside.
Soak for the required amount for your FRIO;
- Pump, Mini, Eye drop(1) = 2-4 minutes
- Eye drop(3), Duo = 7 - 10 minutes
- Grande = 12 - 14 minutes
-Large, Extra Large = 14 - 19 minutes
Remove Inner wallet from water, squeeze out any excess and leave to rest for 5 minutes.
Place medication into the Inner wallet before inserting them both within the Outer wallet for travel.
Be sure to clean and dry your chosen site before application.
Turn the patch over, and peel one corner/backing section.
Carefully place the patch over the transmitter allowing the cut out to line up.
Smooth down the first corner/backing section before repeating on the other side.
After applying your patch, be sure to wait at least 2 hours before showering, exercising and swimming. This allows the patch to securely adhere to the skin.
Use a tacky adhesive wipe or spray over the skin before applying the patch (*be sure to clean the site area before application*)
After the required time, slowly peel the patch off of the skin from the top downwards.
Apply a remover wipe or spray over the patch until the adhesive has dissolved.


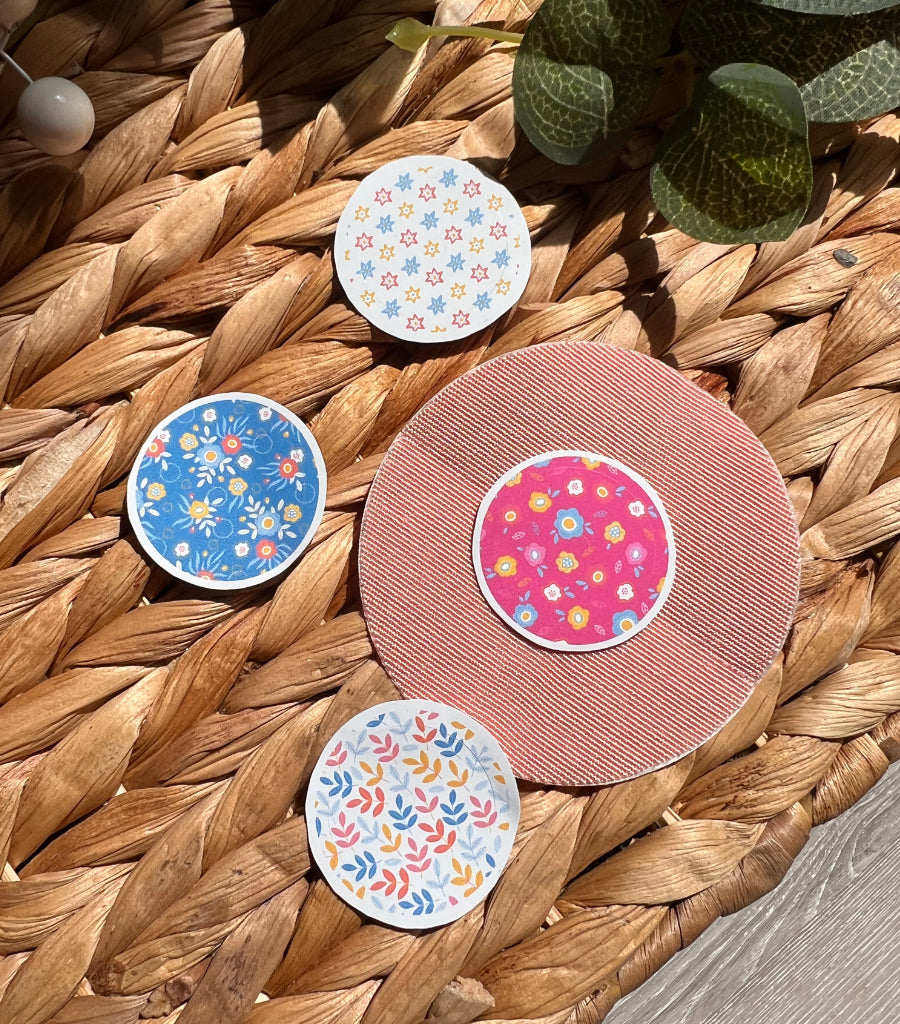
Peel the patterned sticker away from the surrounded backing.
Gently align your sticker with roughly the middle of your sensor.
Carefully place the sticker down in desired place, check that it is positioned correctly, then smooth down with your finger.
If the sticker isn't positioned desirably (Before smoothing down). Carefully lift sticker and reapply being sure to not pull and stretch the sticker.
First remove outer cap from the pen before disposing of needle.
Next place the pen into the triangular hole whilst pulling forward towards the jaggered plastic inside.
Once the pen has caught onto the jaggered plastic, carefully twist and unscrew the needle.
Pull the pen away and upwards from the Sharps container, leaving the needle cap behind. *If the needle is still stuck between the jagged plastic, carefully push down using the end of the pen*
Slowly push the black slide close, leaving a small triangular hole enabling reopen for next use. *If container is full, close the black slide fully over the triangular hole to securely lock for disposal*


Remove the 'Alcohol Prep Pad' from the packaging and wipe over screen.
Once dry, take the 'Dust Cloth' and wipe over screen removing any other dust residue.
Using the tab, remove the clear film from the blue 'Dirt Clean Film'. Then dab in places over screen to thoroughly remove any last traces of dust.
Using the blue tab, begin to peel off clear backing whilst aligning the screen protector into place.
Place down the screen protector and gently push down in the middle, before smoothing out the edges, to ensure its best adhesion.
To add the VAT exempt product you must be signed in as a customer and/or make a VAT exemption declaration.
If you continue to cart without signing in or making a VAT exemption delcaration in VAT will be added to the price.